Choosing solar landscape lighting for your project involves more than selecting attractive fixtures. The right system should balance brightness, durability, placement, and local sunlight conditions. A warm glow along a garden path can improve visibility without making the space feel harsh. However, a product that works well in an open yard may fail beside a shaded wall. This guide explains how to evaluate solar landscape lighting with practical project experience and reliable technical considerations.
Start by studying the site during different parts of the day. Note tree cover, building shadows, drainage, soil conditions, and walking routes. These details affect panel performance, installation stability, and long-term maintenance. Check the fixture’s battery capacity, charging time, light output, color temperature, and weather-resistance rating. A higher lumen rating is not always better. Excessive brightness can create glare and reduce the landscape’s natural character.
Think about the project’s purpose. Path lights need consistent, comfortable illumination. Accent lights should highlight trees, sculptures, or architectural textures. Security-focused areas may require broader coverage and stronger output. Consider spacing carefully, because uneven placement can produce bright spots and dark gaps. Some recommendations may sound ideal on paper. Real gardens are less predictable. Seasonal shade, dirty panels, and aging batteries can change performance. Testing one or two fixtures before full installation is often wise. Review the result at night, after rain, and again several weeks later. A thoughtful choice leaves room for adjustment, not just a polished first impression.
How to Choose Solar Landscape Lighting for Your Project?
Choosing solar landscape lighting starts with the project goal, not the fixture’s appearance. A pathway needs safe visual guidance, while a garden bed may need gentle accent lighting. Record each area, operating hour, and expected nighttime activity. I often inspect the site after sunset. Daylight hides dark corners and glare. Measure every zone’s length and width. Note trees, walls, paving, and seasonal shade.
Define coverage before selecting light output. Lux measures lumens received by each square meter. For a quiet residential path, 5 to 10 lux can provide a practical starting point. Steps, entrances, and uneven surfaces may require 10 to 20 lux. Local safety standards should guide final values. Use a light meter at walking height, then check several points along the route. Uniformity matters more than one bright spot. A simple estimate is area multiplied by target lux, adjusted for fixture spacing, dirt, battery loss, and cloudy weather.
Solar performance changes through the year. A shaded panel may produce less energy than its specification suggests. I once planned coverage from a summer reading and underestimated winter shade. That was a useful mistake. Check panel orientation, daily sunlight, battery capacity, and required autonomy. Place sample fixtures temporarily, then measure the ground after dark. Leave room for adjustment.
| Project Area | Primary Project Goal | Typical Coverage | Recommended Average Illuminance | Suggested Spacing | Typical Fixture Type | Solar System Considerations | Design Priority |
|---|---|---|---|---|---|---|---|
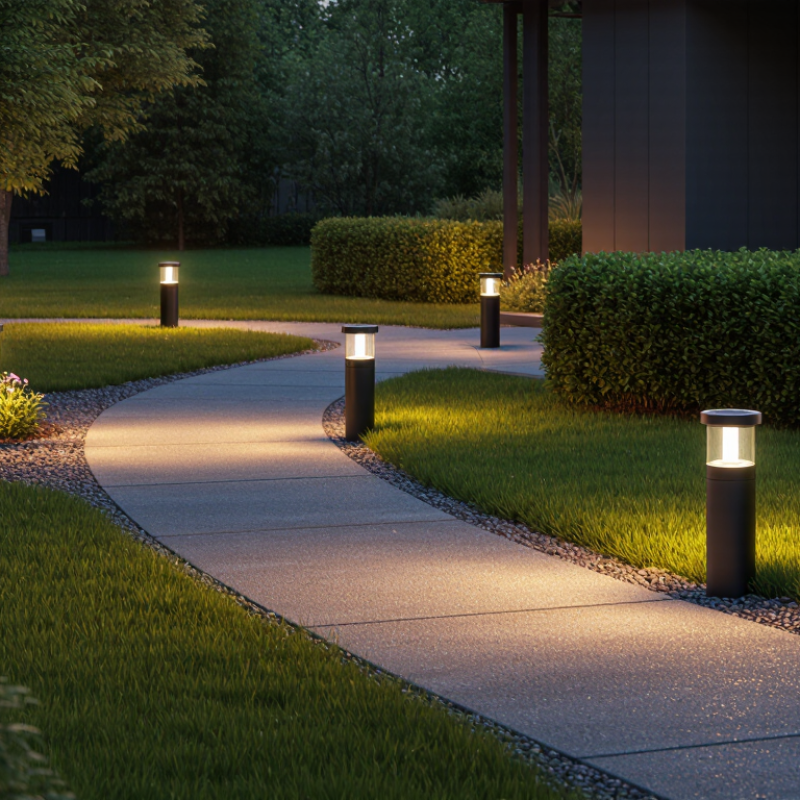
| Pathways and Walkways | Guide pedestrians safely and provide a clear visual route. | Continuous path illumination, usually 1.0–1.5 m wide. | 5–10 lux | 3–5 m between fixtures; reduce spacing near curves and steps. | Low bollards or shielded path lights with downward distribution. | Prioritize unobstructed daytime sunlight and automatic dusk-to-dawn control. | Uniformity and glare control |
| Driveways and Parking Areas | Improve vehicle and pedestrian visibility at entrances and parking spaces. | Vehicle lanes, turning areas, and parking bays. | 5–15 lux | 5–10 m, depending on mounting height and optical distribution. | Solar area lights or higher-output pole-mounted fixtures. | Use larger batteries and adequate panel capacity for longer operating hours. | Coverage and visual comfort |
| Residential Garden Beds | Reveal planting structure and add low-level decorative definition. | Individual planting groups, borders, and small lawn edges. | 2–5 lux | 1.5–3 m, adjusted according to plant height and density. | Mini spotlights, spike lights, or compact wash lights. | Lower power demand is usually suitable; avoid placing panels beneath dense foliage. | Aesthetic balance and natural appearance |
| Building Facades | Highlight architectural features and improve nighttime identity. | Vertical walls, entrances, columns, and selected architectural details. | 5–20 lux | 2–6 m, depending on beam angle, wall height, and desired light overlap. | Adjustable solar spotlights or wall-wash fixtures. | Install panels where rooflines, trees, and adjacent structures will not cause shading. | Beam control and consistent appearance |
| Stairs and Ramps | Make changes in level visible and reduce trip hazards. | Steps, landings, handrails, and ramp transitions. | 10–20 lux | 1–3 m; provide closer spacing at steps, corners, and landings. | Step lights, recessed fixtures, or shielded low-level lights. | Choose reliable dusk operation and reserve energy for cloudy-weather conditions. | Safety and shadow reduction |
| Outdoor Seating Areas | Support comfortable social use while maintaining a relaxed atmosphere. | Patios, decks, benches, dining areas, and gathering spaces. | 5–10 lux | 2–4 m, with additional task lighting near tables or cooking areas. | Ambient bollards, festoon-style fixtures, or shielded wall lights. | Use warm white light and select batteries sized for the intended evening schedule. | Comfort and low glare |
| Public Parks and Open Spaces | Provide orientation, basic safety, and visual continuity across larger areas. | Open lawns, pedestrian routes, seating zones, and activity areas. | 5–15 lux | 6–12 m for pole-mounted units; confirm results with a site layout. | Solar pathway poles or area lights with broad distribution. | Assess winter solar availability, vandal resistance, battery autonomy, and maintenance access. | Reliability and uniformity |
| Security-Sensitive Zones | Increase visibility around gates, service areas, storage spaces, and boundaries. | Entrances, access points, blind corners, and perimeter sections. | 10–30 lux | 4–8 m, depending on mounting height and required detection range. | Motion-activated solar floodlights with controlled beam angles. | Use high-capacity batteries, weather-resistant construction, and motion sensors to conserve energy. | Detection, reliability, and glare control |
Planning note: Illuminance values are typical preliminary design ranges. Final fixture quantity and spacing should be verified through a site layout, photometric calculation, local regulations, seasonal sunlight assessment, and the expected operating schedule.